Texas Instruments has dominated the graphing calculator market since the TI-81 debuted in 1990. Despite the fact that many free graphing calculator apps for smart phones and tablets are more than capable of performing the same tasks, the calculators stubbornly hold their market share. The advantage lies in the fact that many TI calculators are approved for use on the ACT and SAT.
Teaching the key sequences for investigations and labs can be difficult if you don’t have a large poster of the calculator layout or an electronic alternative. Some classrooms are equipped with an Elmo projector. However, if you have an LCD, DLP or HD projector and the TI-83 software development kit (SDK), you can display key sequences and their results in real time. Note: You will likely need the help and permission from your district’s IT department to install the software.
- Download the SDK.
- Run the installer. It requires administrative privileges to install the software. Once it’s finished, it requires a reboot of your system.

- An icon for a TI-83 Plus Flash Debugger will be loaded on your desktop. Run it.
- The TI Debugger window will open. Click the New icon.
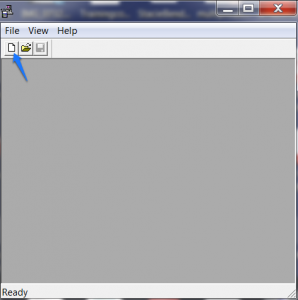
- Choose the calculator version you want to demonstrate with.
- Click the Play button.
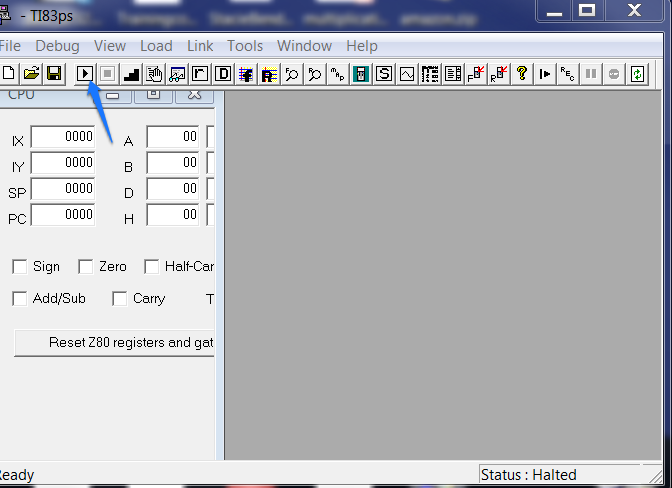
- A working calculator will appear on screen.
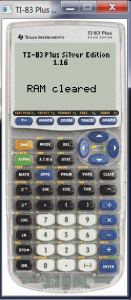
- The debugger needs to be running on the desktop for the calculator to work, but it can be minimized.
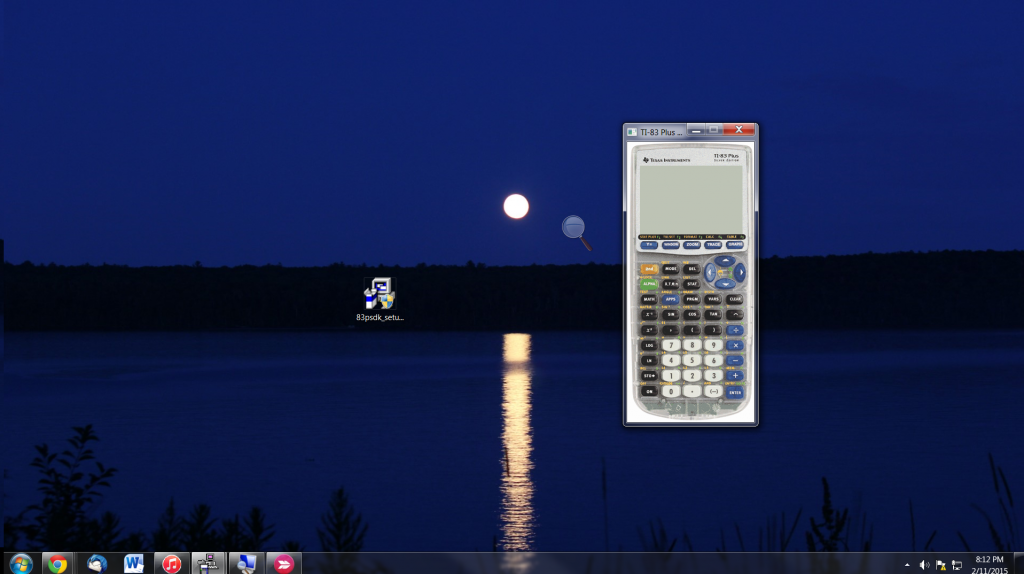
- The calculator is somewhat small compared to the rest of the desktop and does not have an option to increase the size. However, Windows has magnifying capabilities. Press your Windows key on your keyboard and an R. This will open a run dialog box.
- Type magnify and press Enter.
- A magnifying glass and dialog will pop up. The screen will be zoomed in 200%. To change the focal point of the screen, mouse to what you want to zoom in on. The dialog will disappear, but a magnifying glass will remain. Click on it to change the magnification and choose 100% to return to normal.



Leave A Comment