- Log into your Google Calendar.
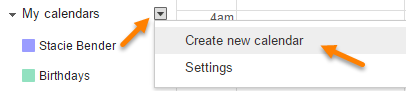
- Click the drop down box next to My calendars and click Create new calendar.
- Name the calendar and add any other information you wish.
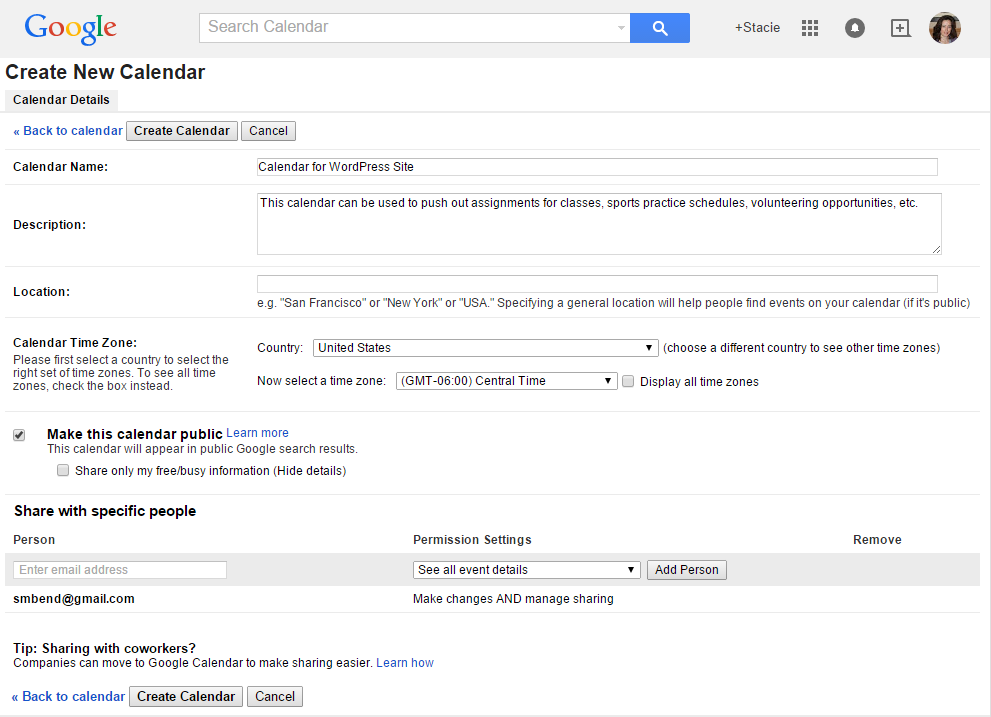
- Check the Make this calendar public box.
- Click Create Calendar.
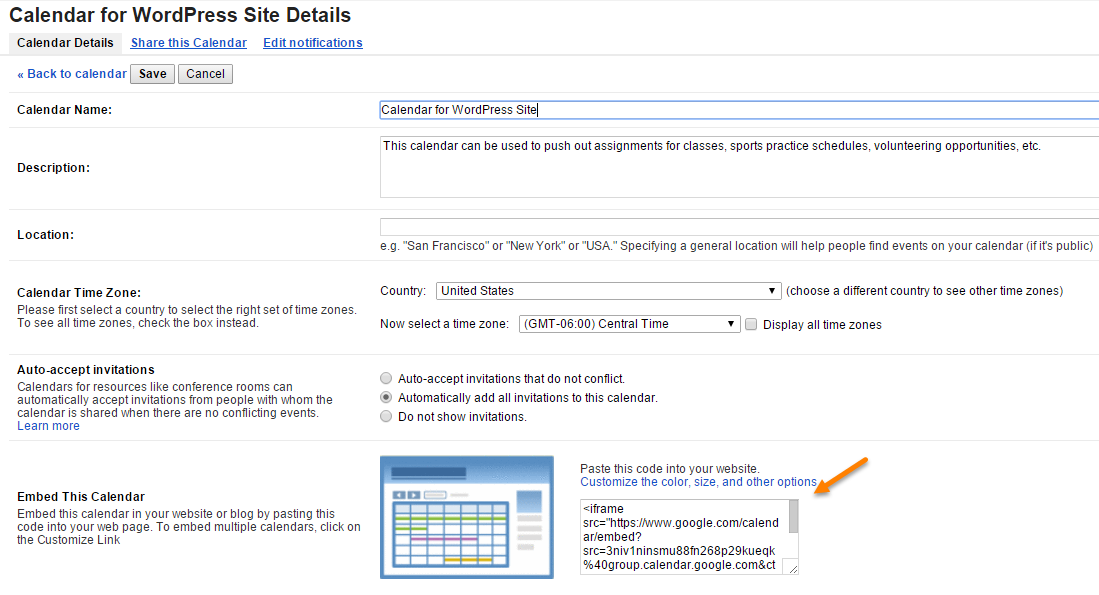
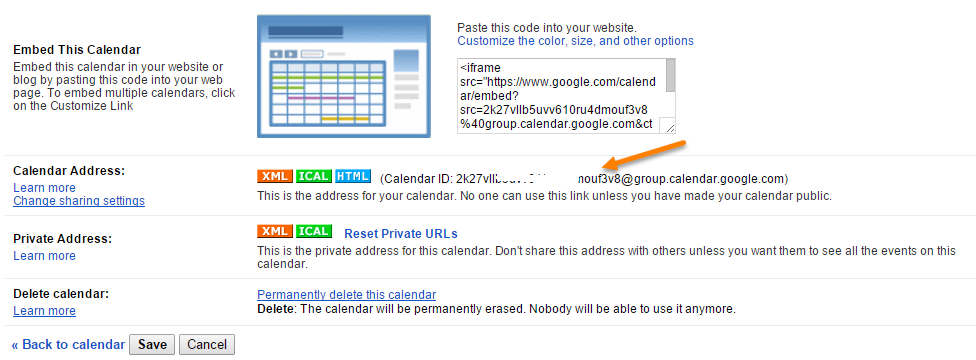
- Click the drop down next to the calendar you just created and choose Calendar Settings.
- Copy the embed code.
- Return to the WordPress Dashboard and create a new page or add to an existing page.
- Change from the Visual to the Text editor.
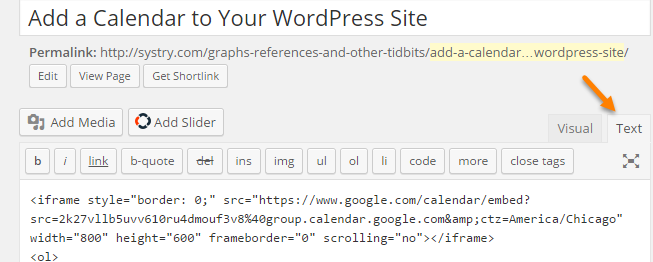
Embed code in Text Editor
- Paste the embed code into your page.
- Switch back to the Visual editor. The calendar will appear as a box within the editor.
- Click Publish.
You can also give your students the public calendar ID so they can subscribe to your calendar and receive assignment or practice feeds directly into their smartphone calendar.
- Back in Google Calendar, click on the settings for the calendar you added.
- Locate the Calendar ID and copy it.
- Email anyone you’d like to have that calendar the ID.
- Explain that if they want to add the calendar, they simply log into Google Calendar, click on the Other calendars drop down and choose Add a Friend’s Calendar.
- They paste the calendar ID into the Contact Email: field and press Add.
You may decide to have a calendar for each course you teach and each sport you coach. Adding assignments and practices can take more time because you must be careful to choose the appropriate calendar when adding the entry, but your students/athletes will not have the extraneous information from entries that don’t pertain to them.
Add a Calendar to Your WordPress Site
Stacie Bender
2017-11-13T22:01:51+00:00